Thanks for voting... CHESELDINE AUTO GROUP BEST AUTO REPAIR IN SOUTHERN MD 2024, BEST OIL CHANGE IN SOUTHERN MD 2024 & BEST CAR WASH IN SOUTHERN MD 2024

How to Inspect Your Oil: A Step-by-Step Guide
How to Inspect Your Oil: A Step-by-Step Guide
Introduction:
Regularly inspecting your vehicle's oil is an essential part of proper car maintenance. Oil plays a critical role in lubricating the engine components, reducing friction, and preventing excessive wear and tear. By inspecting your oil regularly, you can identify potential issues early on and take necessary actions to ensure optimal engine performance and longevity. In this article, we will provide you with a comprehensive step-by-step guide on how to inspect your oil effectively.
1. Park Your Vehicle on Level Ground:
Before inspecting your oil, park your vehicle on a level surface to ensure accurate readings. This will prevent any oil from pooling in one area of the oil pan, providing a more accurate representation of the oil level and condition.
2. Allow the Engine to Cool:
To avoid any potential burns, it is crucial to allow the engine to cool down before inspecting the oil. Hot oil can cause severe injuries. Wait for at least 10 to 15 minutes after turning off the engine before proceeding with the inspection.
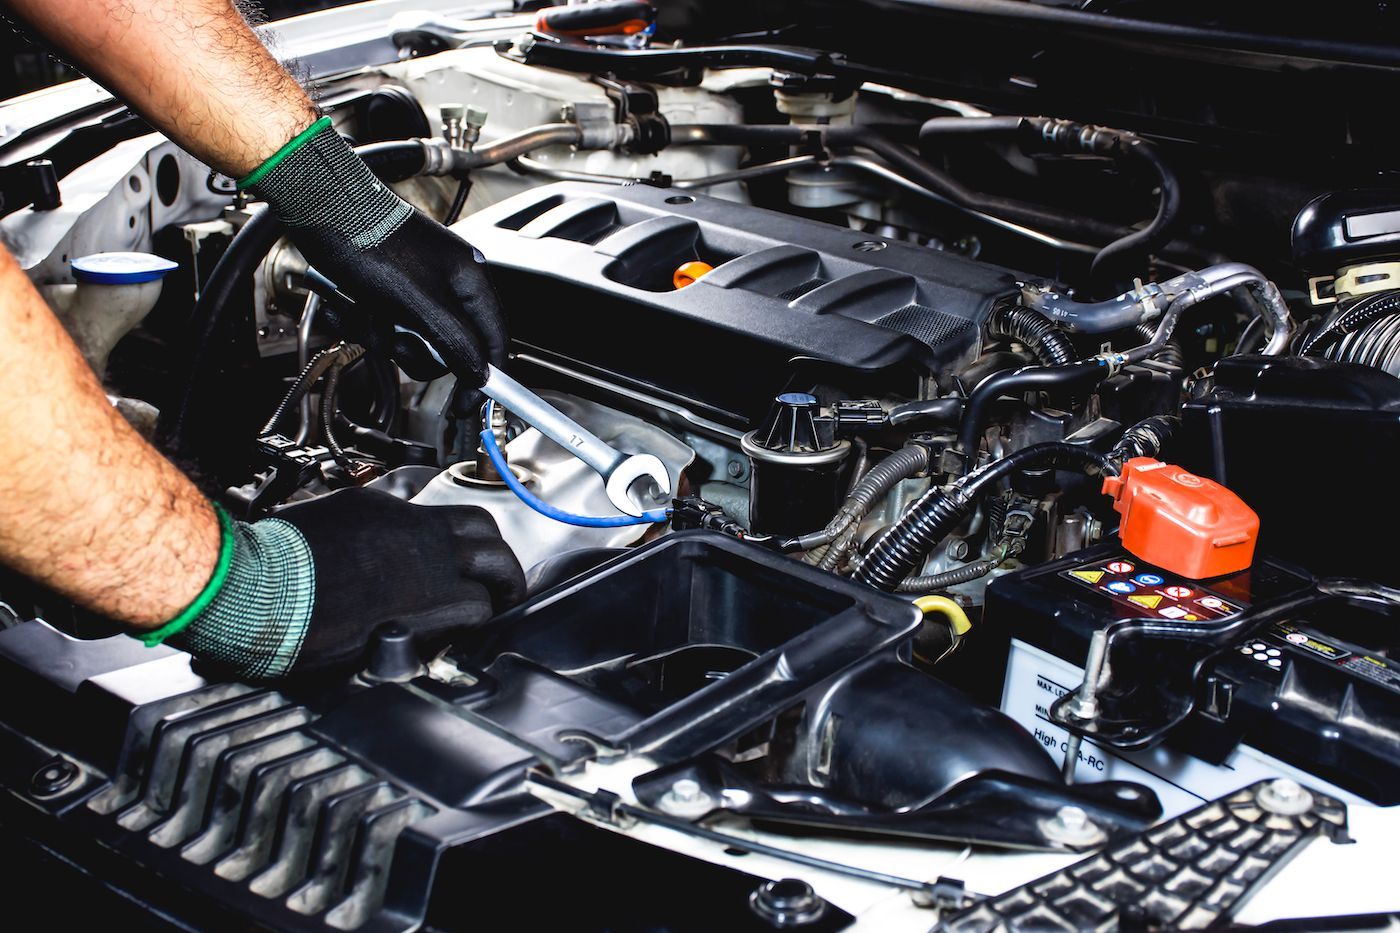
3. Locate the Oil Dipstick:
The oil dipstick is usually bright-colored and has a loop or handle at one end for easy identification. It is commonly located near the front of the engine. Refer to your vehicle's owner's manual if you're having trouble locating it
4. Pull Out the Dipstick:
Carefully pull the dipstick out of its tube and wipe it clean using a lint-free cloth or paper towel. Make sure to remove any residual oil, dirt, or debris from the dipstick to obtain an accurate reading.
5. Reinsert the Dipstick:
Once the dipstick is clean, fully reinsert it back into its tube. Ensure that it is inserted all the way in and securely seated to obtain an accurate reading
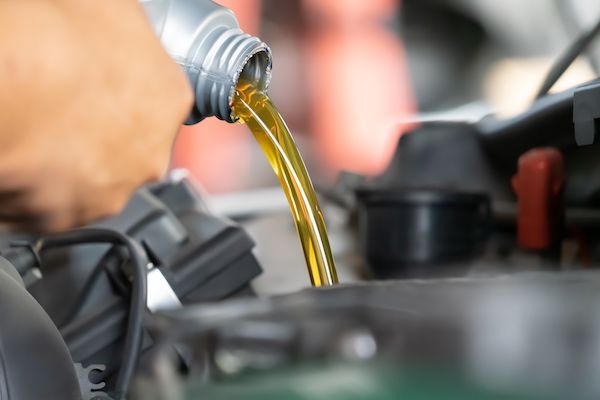
6. Remove the Dipstick Again and Inspect the Oil Level:
Pull the dipstick out once more and observe the oil level. The dipstick usually has markings indicating the acceptable oil level range. The oil should fall between the minimum and maximum marks. If the oil level is below the minimum mark, it's time to add more oil.
7. Assess the Oil Color and Consistency:
Inspect the color and consistency of the oil on the dipstick. Fresh oil is usually transparent or amber in color. However, over time, oil can become darker due to contaminants and engine byproducts. If the oil appears excessively dark, gritty, or contains visible particles, it may be an indication of a problem, and you should consider having your oil changed.
8. Check for Any Odors:
While inspecting the oil, take note of any unusual odors. Normal oil typically has a slight petroleum smell. However, if you detect a burnt or strong odor, it could be a sign of an underlying issue, such as engine overheating or oil contamination.
9. Repeat Regularly:
Make it a habit to inspect your oil regularly, ideally once a month or before long trips. Regular oil inspections allow you to monitor any changes or abnormalities, enabling you to address potential problems promptly.
Conclusion:
Inspecting your vehicle's oil regularly is a simple yet crucial task that can help you maintain the health and longevity of your engine. By following these step-by-step guidelines, you can ensure accurate oil level readings, assess oil color and consistency, and detect any potential issues early on. Remember to consult your vehicle's owner's manual for specific instructions and recommended oil change intervals. With regular oil inspections, you can keep your engine running smoothly and enjoy a more reliable and efficient driving experience.